Welcome to the world of secure crypto management! If you’ve just purchased a Ledger hardware wallet, you’ve made a wise choice toward protecting your digital assets. Ledger devices, such as the Ledger Nano S Plus or Ledger Nano X, are designed to safeguard your cryptocurrency with top-tier security by keeping your private keys offline.
This guide will walk you through everything you need to know to get started with your Ledger device by visiting ledger.com/start. Whether you're new to crypto or a seasoned investor, setting up your wallet the right way is essential to your financial safety.
Before we jump into the setup steps, let’s understand why Ledger devices are trusted by millions:
Cold storage security: Your private keys never leave the device.
Protection from hacks: Ledger isolates your keys from online threats.
Multi-asset support: Store thousands of coins and tokens.
Control in your hands: You validate every transaction on-screen.
Ledger wallets offer a secure, offline environment to manage crypto, DeFi, NFTs, and more, making them a must-have for long-term holders and active users alike.
When you open your Ledger wallet package, you should find:
Your Ledger device (Nano S Plus or Nano X)
USB-C cable
Recovery sheets (to write down your seed phrase)
Keychain accessories
Quick start guide
Make sure the device is factory-sealed. If you suspect tampering, do not use it.
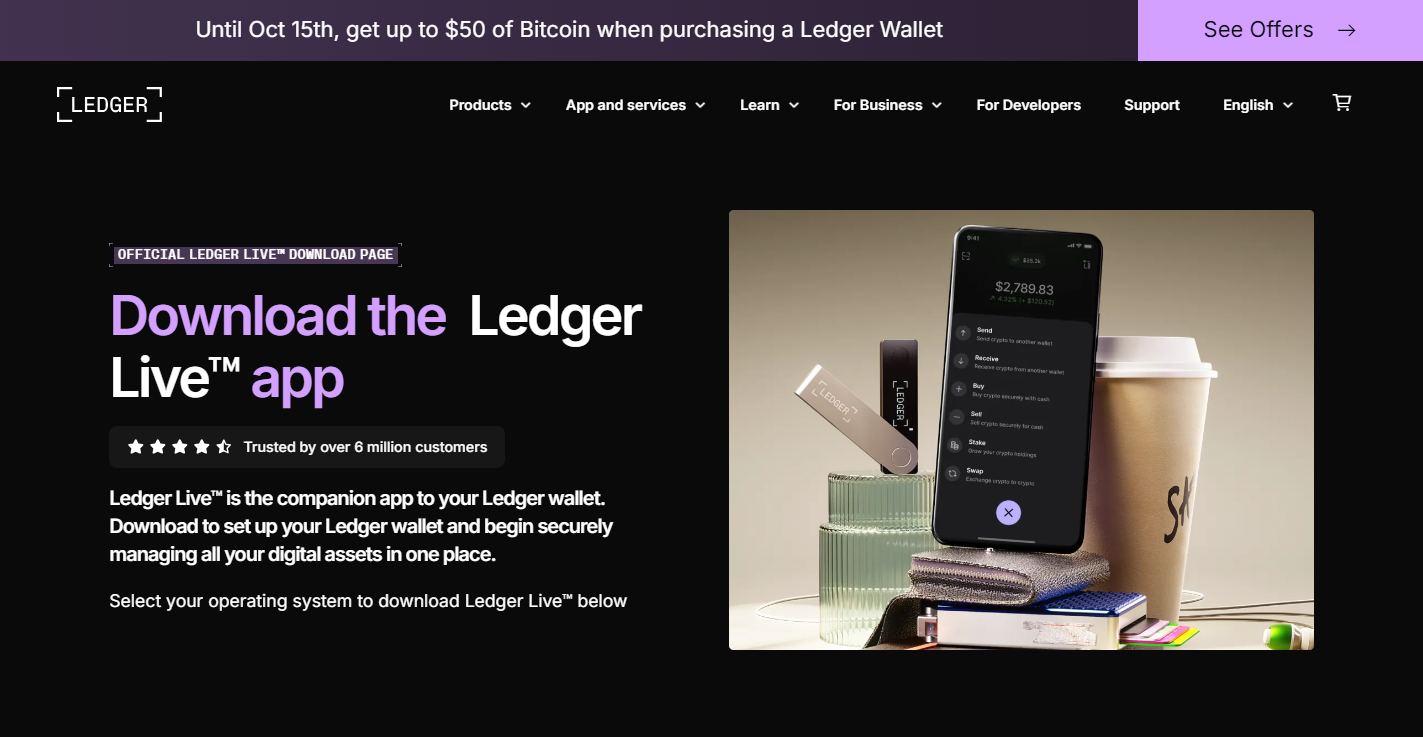
Open a browser and go to ledger.com/start. This is the official starting point for downloading Ledger Live, Ledger's companion app. It’s important to only use the official website to avoid scams or phishing attempts.
Ledger Live is the software you’ll use to manage your crypto portfolio, install apps, send/receive crypto, and update firmware.
Choose your operating system (Windows, macOS, Linux, or mobile)
Download and install Ledger Live
Open the app and select “Get Started”
After launching Ledger Live:
Choose “Set up as new device”
Connect your Ledger wallet to your computer using the USB-C cable
On the device screen, follow the instructions and choose “Set up as new device”
Set your PIN code (this is used to unlock the device)
⚠️ Important: Always choose your own PIN. Never accept a PIN pre-set by anyone else.
This is one of the most critical steps. Your Ledger device will display 24 words one by one. This is your recovery seed phrase.
Write the words down carefully, in order, on the recovery sheet provided
Triple-check your spelling
Store the sheet in a secure, offline place
Never take a photo of it or store it digitally
These 24 words are the only way to recover your wallet if your device is lost or damaged. Anyone with access to these words can access your crypto, so keep them private and safe.
Once you've written down your phrase, Ledger will ask you to confirm the words in the correct order. This ensures you’ve recorded them properly and prepares you for recovery in the future.
Only after confirmation will the device be fully initialized and secure.
Using Ledger Live, you can now install apps on your device for the cryptocurrencies you plan to use. Each crypto (e.g., Bitcoin, Ethereum, Solana) requires a specific app.
In Ledger Live, go to “My Ledger”
Allow Ledger Live to access the device
Install apps for the cryptocurrencies you want to manage
Keep in mind that storage is limited on Ledger devices, but you can uninstall and reinstall apps without losing your coins.
After installing apps, add accounts for each coin:
In Ledger Live, go to “Accounts”
Click “Add account”
Select the cryptocurrency
Verify the address on your device
Share the receiving address to deposit funds into your wallet
Always verify addresses directly on the Ledger screen before sending or receiving crypto to ensure authenticity.
If you're using the Ledger Nano X, you can also pair it with your smartphone via Bluetooth. Download the mobile version of Ledger Live and follow the pairing instructions. This gives you added flexibility for checking balances and making quick transactions.
Setting up your Ledger is just the beginning. Follow these best practices for ongoing safety:
Never share your 24-word recovery phrase
Only use official Ledger apps and websites
Be cautious of fake Ledger emails or support agents
Keep your device firmware updated
Use a strong PIN and don’t store it with the device
Store your recovery sheet in a waterproof, fireproof container
If you encounter any issues during setup:
Visit the Help section on ledger.com/start
Use Ledger’s live chat support
Follow official guides and FAQs
Avoid third-party “recovery services” — they are scams
Remember, Ledger will never ask for your recovery phrase.
Congratulations! You’ve successfully set up your Ledger hardware wallet and can now manage your digital assets with peace of mind. By storing your crypto in a secure, offline device, you’re taking full control of your financial future.
Bookmark ledger.com/start for future reference, updates, and educational resources.